8 May 2016

Hasslefree Package

Sorry about the lack of activity over the past few weeks - real life has got in the way and it's been hard to get close to anything gaming related over the past few weeks. 

But, I have a small development that I want to share.

I've long admired the Hasslefree range from afar and finally decided to purchase a few miniatures to paint up for our zombie gaming purposes.

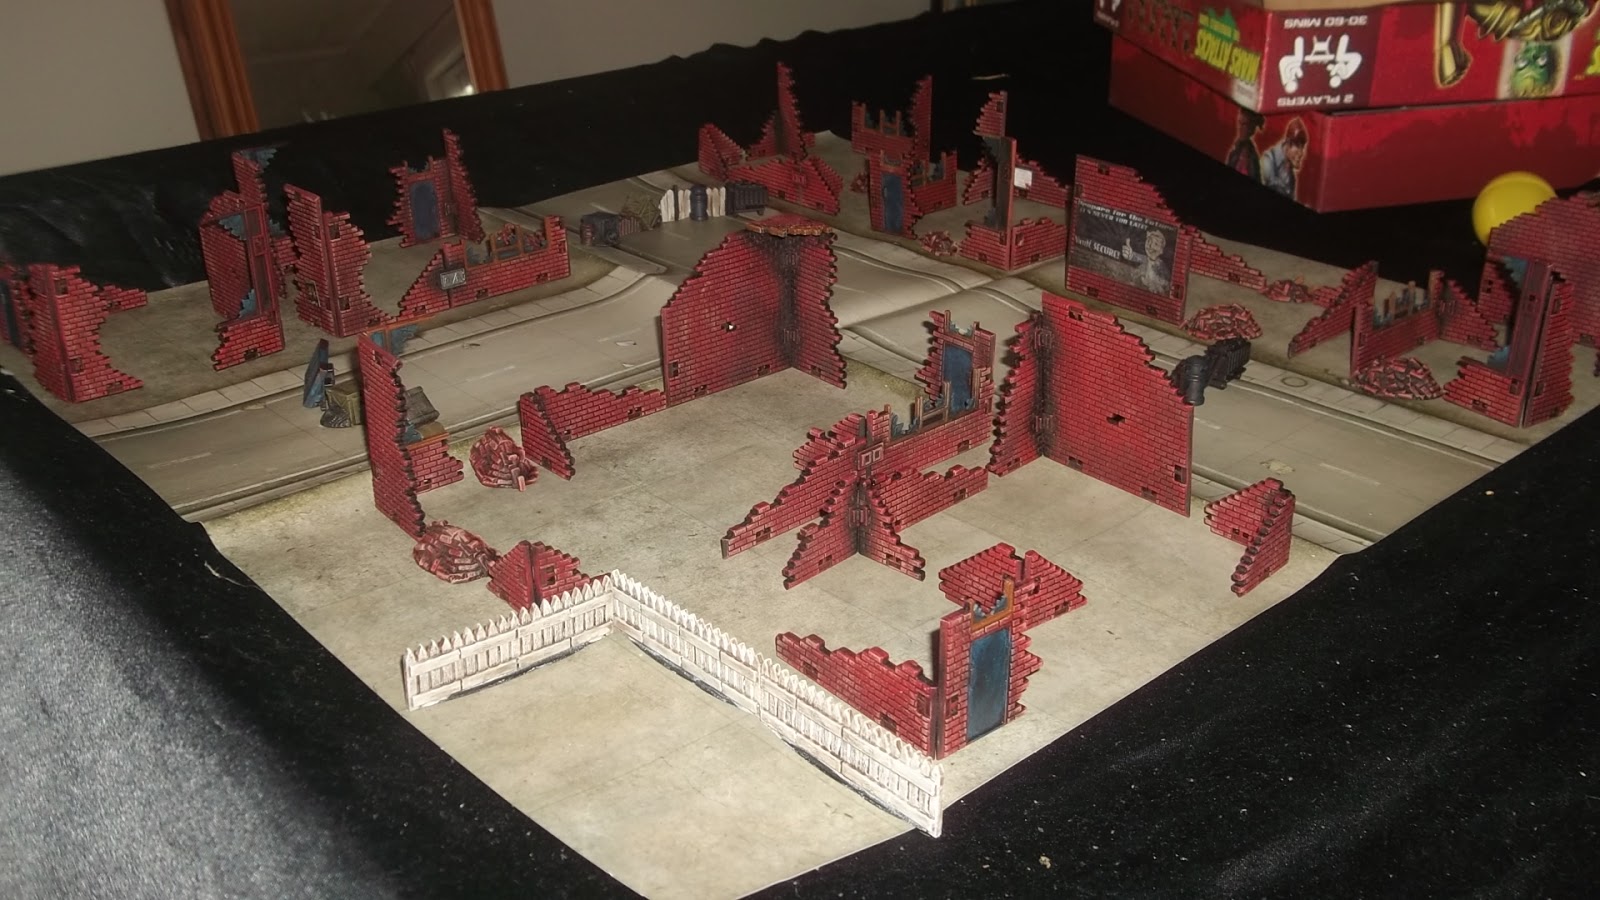
So, last week I ordered 8 miniatures and a couple of the Atztech Zombie signs sheets to jazz up our terrain a bit.


It was with some surprise that I received my order within a week of ordering it online - sometimes post delivered within New Zealand doesn't get to me that fast... except when they're bills... but the slight gasp of amazement turned to squeals of delight (not really but I added this in for dramatic effect) when I opened the box.

Dum, dum, duuummmm...

The great boys and girls at Hasslefree had added in a few freebies to my order - 2 extra miniatures plus some English lollies (sweets) which for an expat Pommie such as myself gave a fuzzy feeling of home...


My wife and I are big fans the The Walking Dead, and my wife is interested in helping us with our game (she is not a gamer - at all) as long as she can play as a Michonne like character.

So I ordered the Resin master of Gaia (Hasslefrees new not Michonne model) to paint up for her and to my surprise Hasslefree threw in a free metal version of the miniature as well!!! The elite version no less - with the option for various weapon armaments...

Limited time only - buy one badass with a katana, get one free...

They also packed in another free miniature called Amoy - which looks like a child with a bike helmet and hoodie wielding a pistol - as you do. A bit different but I'm sure I'll be able to use it for something.


So this post is really just a big thank you to Hasslefree - great service, lovely, unexpected extras and yummy English lollies - I'm a believer. :) Definitely will be picking up some more stuff from them in the future.

And if anyone from Hasslefree is reading this - my only suggestion would be to put in Galaxy Minstrels in the next box - they are my favourite!!! :) :P

Cheers All,


10 April 2016

Jersey Bars

I've been playing around making some jersey bars/barriers to add to the tabletop.

I know that there are a lot of companies that make them, and a lot are for a reasonable price, but shipping to New Zealand costs and arm and a leg so I decided to go about creating my own.

I'd read on LuckyJoes blog that he had made is own out of plaster of paris and an ice cube tray and figured that it was worth giving a go.

I had one of those flexible mould type trays which, whilst not giving an exact shape, was close enough to represent some type of barrier. I was able to pick up some cheap plaster of paris mixture from our local $2 store and set to work.


My initial attempt was with basic plaster of paris, which came out nice and white, however I had trouble painting them. 

The paint wouldn't stick and every time I picked up a barricade, what paint I could get on them would just flake off on my fingers.

So it was back to the drawing board, and on the second trial I decided to mix some grey paint into the plaster of paris mixture. However, I didn't get the consistency right and there ended up being a large amount of air bubbles in the mixture, and I didn't make sure the mixture covered the whole of the mould completely and so when it dried and came out, there were gaps and holes all the way through it.

Being a resourceful chap, I decided to use that to my advantage, and just damage them up a little to make it look as if they had been battered, shot at, crashed into etc. 

A line of high viz yellow on the top finishes the look and there you go:


They aren't accurate, but I think they do a job. I'll do some more which are in better shape and less damaged so we've got some choice depending on how dilapidated we want our terrain to be, but for the sake of a $2 bag of plaster, cheap poster paint and half an hour, I don't think they are too bad.

Scale comparing it to a Zombicide miniature.

Hope you like.

Cheers,

3 April 2016

Dead Men Walking (Zombies 2)

The Rue Morgue box comes with over 80 zombie miniatures, and I'm pleased to say that they are all painted. There are some nice sculpts in the box, but you tend to hit the wall after painting the same model over and over again!!!

Just like the Walk of the Dead box, I thought I'd just show a few examples of the miniatures painted - you'll just have to believe that the rest are painted :)

Painted the same way as the others, I just grabbed a batch to paint over a few evenings and got too it - again, I spent maybe no more than an hour and a half painting batches of 8.

My favourite sculpt in the box.

 Michael Jackson zombies?


What I really like from this box set are the crawlers. Within the actual game of Zombicide they are a pain in the @$$ but they are characterful sculpts which were a lot of fun to paint.


 Detailing of the bloodied stumps they have instead of legs. 


And the Abomination. I think this is the biggest one out of all the Zombicide games and it is a large model. We've not made any rules up for something like this within our own game, but if we did, I can't think of a more appropriate model to use.

I didn't want to go overkill with the blood and gore, but felt the model needed something, and I liked how it ended up coming out. Again, the same colours as the others were used, but I spent a bit more time on this one.


Hope you like.

Cheers

Dead Men Walking (Zombies 1)

Hey All,

This post is showing some of the zombie miniatures that I have painted up over the past few months. For most of our games, the Zombicide miniatures we have are used for the zombies.

I think that within our gaming group, we have just about every release of Zombicide. Each of us has brought one of the boxes, and I picked up Season 3 - Rue Morgue and a Walk of the Dead top up box as well which has some more of the zombies from Season 1.

I think that the Zombicide miniatures are some of the best available, with the only real downside being the repetition of the poses. But we've found that if you mix and match the zombies from all the sets, you get a nice mix with not too much variation. 

I started out with the Walk of the Dead box set, and this is what I'll be showing off today:

Funny story: I had a family photo taken at my wedding a couple of years ago - that photo doesn't look too dissimilar to this one... :O

When it came to painting, I wanted a technique which was easy, effective and didn't take too long to paint. I came up with how I paint mine by chance more than anything else, but I liked the result so carried it through the entire horde.

For anybody who is interested, the skin recipe is:

1) Undercoat the model black.
2) Base coat of 'The Army Painter Warpaints' Necrotic Flesh - it takes about 2 coats to completely cover over the black.
3) Wash with 'The Army Painter Warpaints' Dark Tone Wash - nice and messy.
4) Once dried, a light drybrush with white - I use GW Praxeti White, which is one of the paints from their dry range. 

And that is it.

Clothes are painted in a variety of colours, and washed with either a black wash or dark tone wash depending on what the colour of the the clothing is, and once dried, are drybrushed with Bestial Brown, which is an old GW colour - but any brown will do to dirty up the clothes.

The blood is done simply by painting on GW Blood for the Blood God technical paint - nice and easy.

I paint in batches of 8 models at a time and it usually takes me about 1 1/2 hours to paint 8 models from start to finish. 


 This is my favourite sculpt from this set - it is just a classic zombie pose - shambling along, dragging the foot behind.

 Reach out. I'll be there. 
Not quite the Four Tops...

 The fatties - give us a hug.


 Hello ladies...

 Not a boy band...

 The runner sculpts are probably the weakest of the set, and I struggled to get both options painted but here they are.

Sorry about the blurriness of this one - just could not get these in focus. This was the best picture I could get.

Painting is fairly basic, and I've tried to get some variation of colour among the same miniature, but with a limited palette and a bit of dirtying up, I'm pleased with how they came out. 

At the moment, our games only consist of Shambler zombies (I'm a traditionalist) so the runner and fattie zombies are stand ins for normal zombies in our games. As I mentioned above, I struggled with the runner sculpts - I'm not overly keen on them and so I rushed through them, but they match up okay with the others and are usable.

I've now got over 100 zombies painted up - next will be showing the Rue Morgue miniatures.

Thanks for looking!

29 March 2016

Setting a Scene

Happy Easter all!!!

Due to the long weekend, we took the opportunity to catch up with friends and family so I was unable to post an update on Sunday as I had hoped.

Still, I hope better late than never.

I'm hoping to do a big post next weekend to show off the zombies I've got painted up so far as I wasn't able to do it this weekend, so I thought instead I'd quickly set up a little scene and show off some pictures as a bit of a teaser...

Caught unawares whilst out scavenging for supplies, our three heroes quickly find themselves up against a group of hungry zombies. They prepare themselves by hunkering down behind some makeshift barricades and hope that they can get out of this one alive...

Maybe our survivors were too focused on the assorted coloured eggs in the distance to notice they had company...


Most models are Zombicide Season 3 miniatures, with a few Season 1 Zeds for good measure, set up among the already introduced Mars Attacks terrain I have.

More next weekend.

Until then, enjoy!!!

23 March 2016

Mars Attacks Ruins

A little while ago, I was able to get an online deal on Mantics' Mars Attacks game - the game itself and the Scenery Upgrade pack for less than the cost of what the game alone usual retails for.

Whilst having no real interest in the game itself, the fact that it came with a large amount of usable terrain, as well as some extra miniatures meant I was happy enough to pick it up with the view of using the contents within our own games.

As well as offering a large amount of ruins, it also provided a fair amount of street debris - benches, bins, postboxes, fences and barricades which offer a nice, realistic touch to the tabletop, and allows us to really have a 'lived in' feel to our tabletop. 

The ruins set up on the paper mat that comes with the game

Anyways, the ruins themselves are painted, and I've gone for painting them a slightly 'over the top' red colour in order to make them stand out. 

They are nice and simple to paint, and I've really enjoyed getting them to this point. Currently they are not based, and that is something that I want to do, with rubble and debris piled up to add that last piece of character to them but they are certainly usable as they currently are. 


 Examples of the street debris - these aren't quite finished as of yet.


Take a walk down Crease Street...

Obligatory Fallout poster. 

What I like about them is that they are generic enough in design to use in a variety of different style games - from Zombie games, 40K, WW2 games through to post apocalyptic Fallout type games.

Whilst these ruins don't really offer enough to count as full buildings, they do a good job providing cover and blocking line of sight, and there is enough to fill a 2x2 foot table here quite comfortably. Add some intact buildings, and they definitely add a little something to the battlefield.

Hope you like them.